
Render+ 3.0 released
Render+ 3.0 has been released. Let’s dive in and see what’s new!
Render+ 3.0 has been released. Let’s dive in and see what’s new!
Boy, it’s been a while! I’m finally picking Render+ development up again. This version comes with several long needed fixes and two flashy new features. Among the fixes are: You can grab the update from the Blender Market or Gumroad as usual.

It’s been a while, hasn’t it? Life has been really, really hectic. But there’s always some time to work on Mirage! This new version comes with a complete revamp of the distribution system, now using Geometry Nodes. Also M1 macs are supported now. The first thing you will notice is that changes are applied inmediately. Vertex groups or
It’s that time of the year again! A new Render+ release is out with some new features, some life quality improvements and a bunch of bug fixes. Verison 2.5 brings multiple custom frames, frame jump control for animations, better tools for troubleshooting, support for Blendfiles compressed with Zstd (Blender 3), and a new option to run a python script (from
Today is release day! Render+ 2.4 is out. Also known as the spit and polish release. The previous refactor in 2.3 unfortunately introduced a number of regressions and other random bugs. There’s also a couple of improvements to make the UI less confusing and some initial work on Blender 3.0. Take a look at the list of fixes

Render+ 2.3 is out today! This version comes with another important step towards better batch rendering. Parallel Renders After a massive rewrite of the batch server, Render+ can now render more than one job at a time. The global batch settings include a small slider to change the number of jobs that get run in parallel. Render jobs

No video this time, because a lot of the improvements are basically iterative or under the hood (also had no time to make a full video TBH). This release comes with much needed performance work, better materials a new modifier. I also did some janitor work removing dead code and improving several parts of the terrain module with the recent
Yes! today is the day. After well over a year, Mirage 3.5 is finally officially out. So many things have happened, so many new features too. Let’s get into the new stuff New Modifiers system and terrain tools Mirage has gained a new terrain type: the BASIC terrain. This type uses a similar algorithm to what we had in

A 3D modeller, animation suite and not one but two render engines. Blender’s codebase is full of insanely complex work and math. So, how can it be free? We’re talking about one of the most math intensive problem domains in software. It’s no wonder that in all these years there have been very few open source
Oh hey, it’s been a while! As you might guess what was to be a short, self-contained, reasonable release turned into a chaotic avalanche of features. Typical. You fix one thing and then you get an idea to make something better. You get on it since it’s a small change, and when you snap out of it weeks have
Watch out! A new version of Render+ is out. We finally take the first step towards network rendering and many improvements all around. Network rendering The batch server can now be run in a separate computer. For now, the server also does the rendering. I will be working on distributed rendering over future releases. Please refer to the
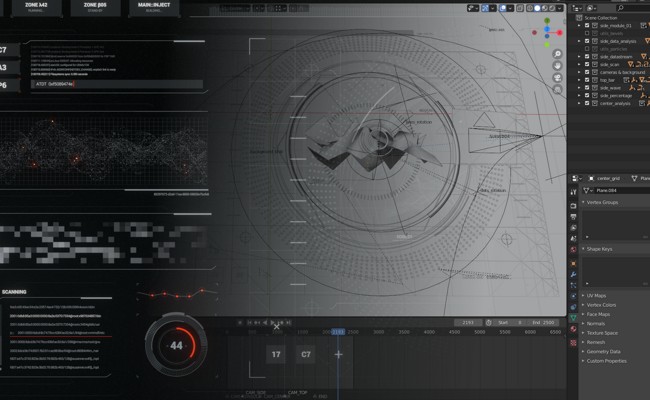
By popular request, here’s a breakdown of the Futuristic UI I posted earlier. This includes a complete look at the script that updates the texts and all the animation and material tricks I used. I also updated the blendfile to also include the video sequencer scene that was missing before.