Filters & Adjustments
These group includes nodes to improve image quality and color grade, as well as
tools for image analysis and value manipulation.
Vibrance
Works like in the filter in Darkroom and many other 2D editors.
Adds more saturation in the less saturated areas, and less in the more saturated ones.
| Inputs |
Description |
|---|
| Image |
Original image |
| Intensity |
Strength of the effect |
| Mask |
Mask out areas of the effect |
| Outputs |
Description |
|---|
| Image |
The resulting image |
Vibrance by Luminance

Works like Vibrance, but also takes into account brightness. Lighter areas will
get less saturation (or even get desaturated) while darker areas get more
saturation.
| Inputs |
Description |
|---|
| Image |
Original image |
| Intensity |
Strength of the effect |
| Mask |
Mask out areas of the effect |
| Outputs |
Description |
|---|
| Image |
The resulting image |
High Pass Filter
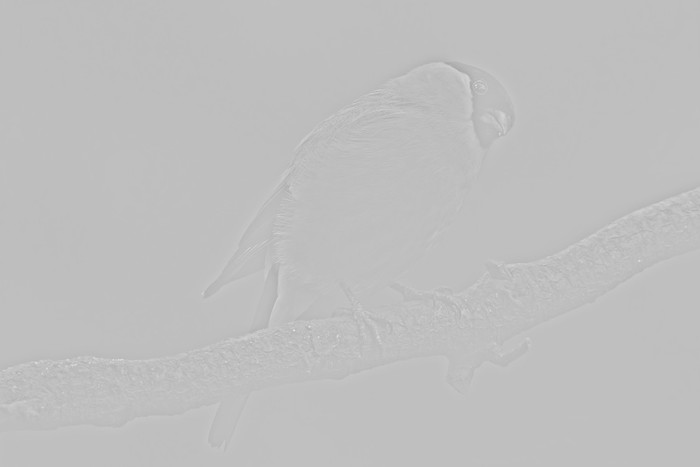
This node can be used for many things, just like in 2D editors. Google “High
Pass Filter” to find more ideas and tutorials.
| Inputs |
Description |
|---|
| Intensity |
How much of the effect is applied |
| Radius |
How much blur to use in the effect |
| Mask |
Mask out areas of the effect |
| Outputs |
Description |
|---|
| Image |
The resulting image |
High Pass Sharpening
Sharpens the image using the High Pass filter.
| Inputs |
Description |
|---|
| Image |
Original image |
| Intensity |
How much of the effect is applied |
| Radius |
How much blur to use in the effect |
| Mask |
Mask out areas of the effect |
| Outputs |
Description |
|---|
| Image |
The resulting image |
| Edges |
Edges from the image |
Clamp
Clamps brightness to be between the maximum and minimum. You can use this node to get
animations/video in legal range for broadcast, or to clamp an input value for a
node group.
| Inputs |
Description |
|---|
| Image |
Original image |
| Maximum |
Clamp high values to this number |
| Minimum |
Clamp low values to this number |
| Mask |
Mask out areas of the effect |
| Outputs |
Description |
|---|
| Image |
The resulting image |
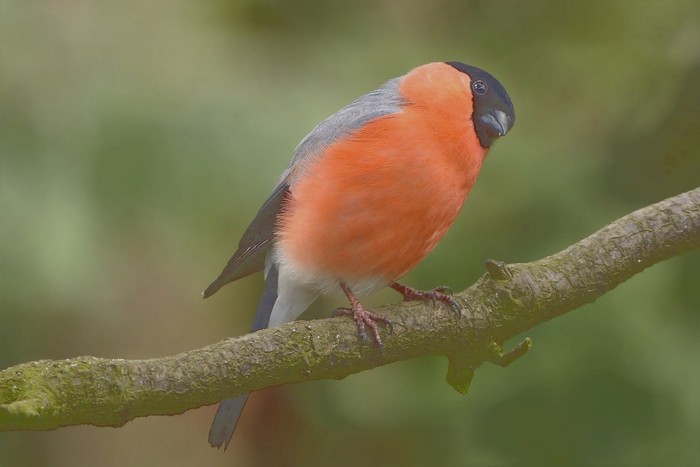
Highlight out of Range
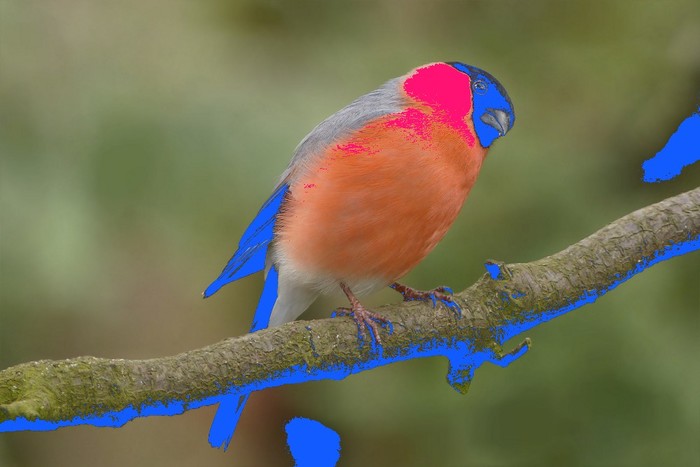
Colors pixels that are above the maximum or below the minimum brightness.
| Inputs |
Description |
|---|
| Image |
Original image |
| Maximum |
Values above this number will be colored |
| Minimum |
Values below this number will be colored |
| Above Max Color |
Color for values above maximum value |
| Below Min Color |
Color for values above minimum value |
| Outputs |
Description |
|---|
| Image |
The resulting image |
| Above Max Mask |
Mask of values above maximum |
| Below Min Mask |
Mask of values above minimum |
Shadow gain
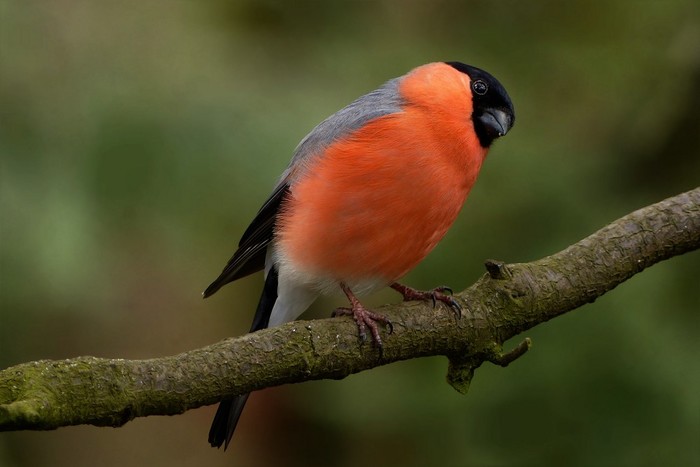
Pump the shadows. They can also add a little extra to each of the RGB channels (it can be used to make shadows colder for instance).
| Inputs |
Description |
|---|
| Image |
Original image |
| Intensity |
Strength of the effect |
| Tweak Blue/Green/Red |
Increase or decrease the effect on each channel |
| Mask |
Mask out areas of the effect |
| Outputs |
Description |
|---|
| Image |
The resulting image |
Light gain
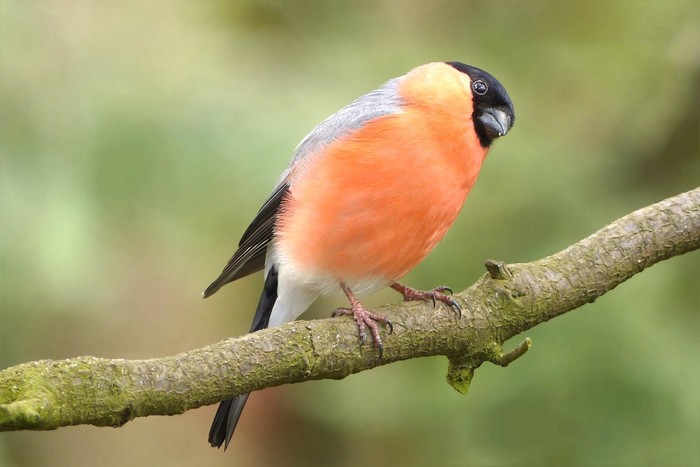
Pump the highlights. They can also add a little extra to each of the RGB channels
| Inputs |
Description |
|---|
| Image |
Original image |
| Intensity |
Strength of the effect |
| Tweak Blue/Green/Red |
Increase or decrease the effect on each channel |
| Mask |
Mask out areas of the effect |
| Outputs |
Description |
|---|
| Image |
The resulting image |
Separate by Luminance
Creates three masks: Shadows, Highlights, and Mid-tones.
Each setting includes a “Mask Tweak” value to modify the mask.
| Inputs |
Description |
|---|
| Image |
Original image |
| Highlights |
Threshold to consider a value a highlight |
| Highlights Mask Tweak |
Tweak mask by changing contrast |
| Mid-tones High |
Threshold to consider a value a mid-tone (maximum) |
| Mid-tones High Mask Tweak |
Tweak mask by changing contrast |
| Mid-tones Low |
Threshold to consider a value a mid-tone (minimum) |
| Mid-tones Low Mask Tweak |
Tweak mask by changing contrast |
| Shadows |
Threshold to consider a value a shadow |
| Shadows Mask Tweak |
Tweak mask by changing contrast |
| Mask |
Mask out areas of the effect |
| Outputs |
Description |
|---|
| Highlight Mask |
Greyscale image for highlights |
| Mid-tones Mask |
Greyscale image for mid-tones |
| Shadows Mask |
Greyscale image for shadows |
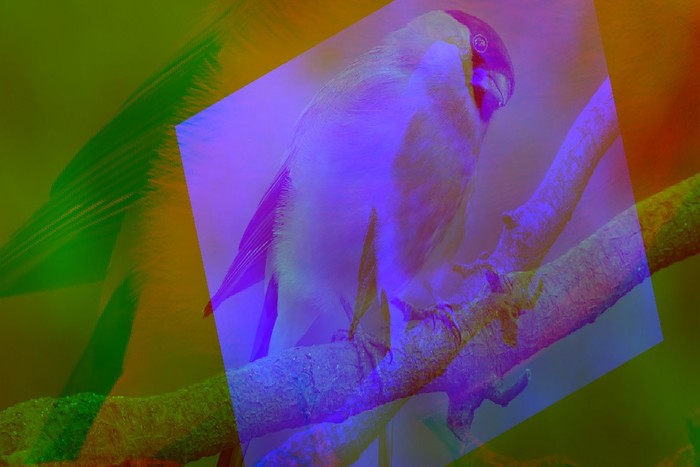
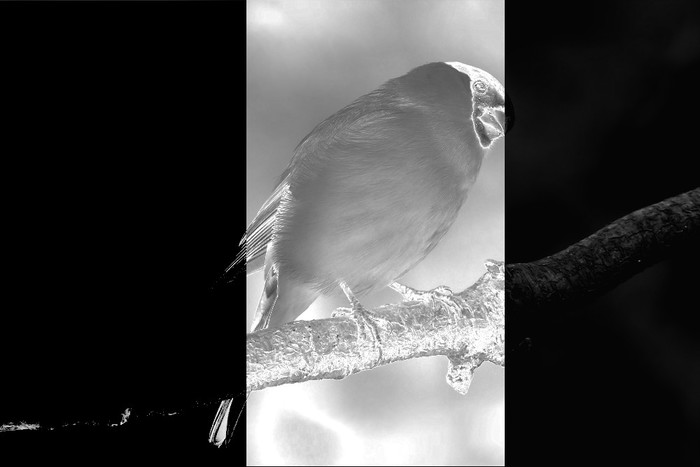
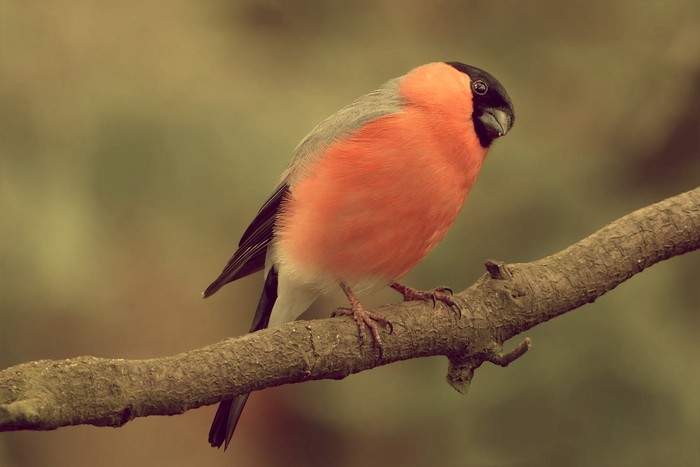
Color by Luminance
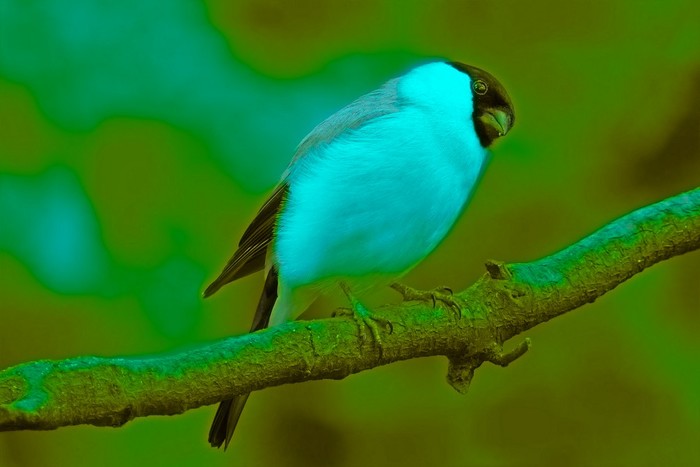
Colorizes the image based on the base hue, and shifts it according to brightness.
Hue goes from 0.0 to 1.0. Both ends are red. Shifting is done by adding to the
base hue. For instance: A base hue of 0.5 with a Max hue shift of 0.25, would
yield hues in the range 0.5-0.75.
This node is specially useful for coloring greyscale images with a more
realistic approach than just using a single color.
| Inputs |
Description |
|---|
| Image |
Original image |
| Base Hue |
Hue to use when coloring |
| Maximum Hue Shift |
How much to add to the hue from brightness changes |
| Soften |
Soften hue changes |
| Saturate |
Saturation of colorization |
| Luminance Influence |
How much luminance influences hue |
| Saturate by Luminance |
Saturate or desaturate using luminance |
| Mask |
Mask out areas of the effect |
| Outputs |
Description |
|---|
| Image |
The resulting image |
Two-Tone Mixer
Changes the tones of both lights and shadows without changing their brightness.
| Inputs |
Description |
|---|
| Image |
Original image |
| First Tone |
Color(s) to mix with shadows |
| Second Tone |
Color(s) to mix with medium tones and highlights |
| First Tone Influence |
Mix factor for first tone |
| Second Tone Influence |
Mix factor for second tone |
| Mask |
Mask out areas of the effect |
| Outputs |
Description |
|---|
| Image |
The resulting image |